Monday, August 16, 2010

website

this website is all about me. my personal background, my family, my interests and a gallery full of my picture with family and friends. here's the steps that took place in the process.

step 1: banner

i selected black as my background color of my website. then, i chose a banner from the internet in white so that the banner and the background are contrast. then, i edited the banner using photo scape and put in my full name and id in the banner. the photo would be like this:


step 2: button
i chose a button from the internet as well. and finally, i chose a button with a picture of a penguin because i love penguins, ;)
so basically, there a 5 buttons overall which are home, about me, family, interests and gallery. the final product is like this:


step 3: template
after i done the background, banner and buttons,i proceed the process by saving it as template. this will help me to save time consuming and to fixed the every pages of the website.

step 4: home page
the first page of my website is the home page. at this page, i greet those who visit my website and give a short brief abut the project and the website itself. the outcome is like this:


step 5: about me page
the second page is about me where by i key in my personal data.


step 6: my family page
where i share infos about my family. i also included a few pictures at the bottom of the page.


step 7: interest page
at this page i share infos about my interest. i also provided a few pictures in it.


step 8: gallery page
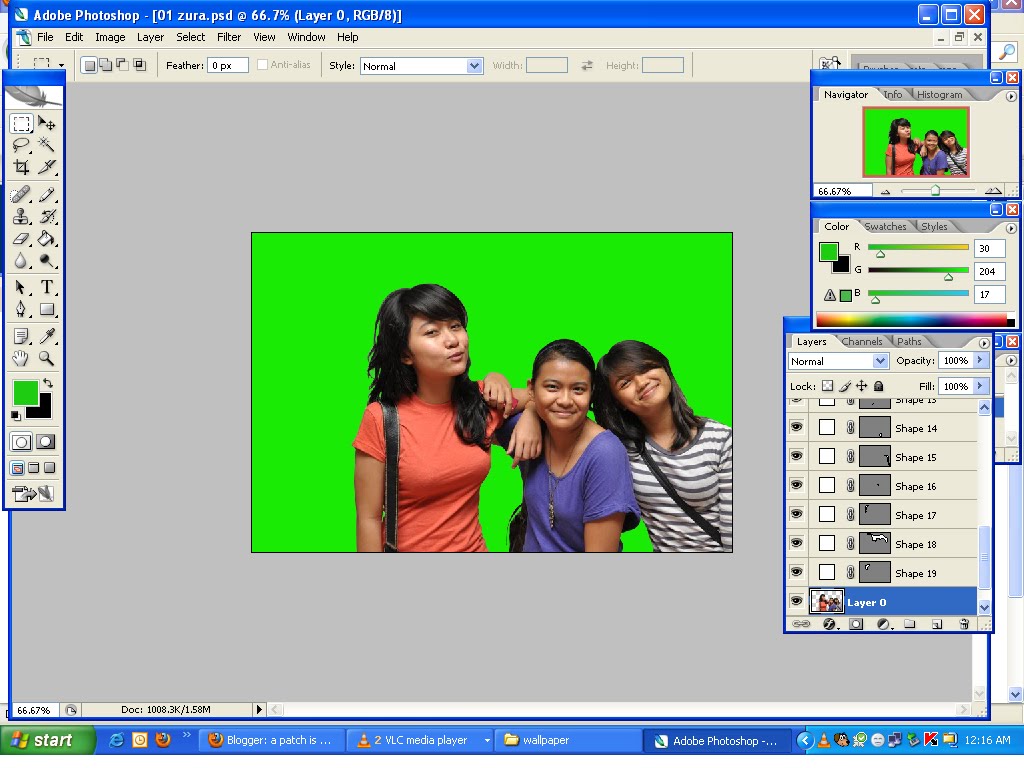
this page is all about pictures of me and my family and friends.


step 9: links
the last step is putting in the links for every button to each pages that necessary. and i also put link to my email. thank you. :)

Tuesday, July 13, 2010

assignment 1 (pictures and meaning)

in this post i will explain why i chose the main pictures for the e-wallpaper.

the first picture which is the FOM cafe. this picture to show the coziness of the faculty. to show that FOM has it's own cafe for the students and staffs to relax on their free or break time. it also shows that the faculty building is quite spacious.


second picture is the FOM signboard. this picture is to emphasize that FOM is stands for faculty of management since it is going to view by other people that is not studying or working in mmu.


the last picture is me and my friends. this picture to represent friendship or strong bonds between students. it shows that FOM offers a very conducive environment for student to study, making friends and experiencing.


the top text in the wallpaper is to announce to people that mmu is having FOM open day. the text "be a part of us" is to invite other people to join in faculty of management in mmu.

another text is at the bottom of the signboard which stated the date of the open day and also listing what FOM can offer to the students which are cafe,equipped classroom, tutorial room, computer lab, and friendship as demonstrated in the previous image.

thank you.

assignment 1 ( steps)

Tools:
1) pen tool for cropping; from shapes then inverse into selection and then cropped.
2) paint bucket; filled background with green color for cropping process.
3) magic wand for cropping.
4) eraser
5) type tool


Techniques:
1) image adjustments - curves
- brightness/contrast
- color balance
2) effects - bevel & emboss
- drop shadow
- inner shadow

this is the list of tools and techniques that i used for this e-wallpaper.

firstly, i chose the background color for the banner. i chose white-Grey color so it looks like the sky.

secondly, i choose this picture:


and i cropped it using tool pen and just make a straight line to make the shape or select the image that i desired. so the result would be like this:


this cafe picture would be my second layer.

thirdly, i chose the FOM signboard picture to be my third layer and that picture would be this one:

and again, i uses the pen tool to crop the signboard since it is straight in line.then i filled in the background with green color to see the clear image of the cropping if there is any mistakes made. and the result is this:


for both second layer and third layer pictures, i uses image adjustments which are brightness/contrast and color balance to make the picture to be clearer and sharper as well.


then, i chose a picture of me and my friends to put in the e-wallpaper and made it as the fourth layer. so the original picture is this:

then i cropped our picture using the wand tool since it is not a straight line. then again, i filled the background with green color to detect any mistakes and use eraser to erase mistakes. the outcome would be like this:


for this picture, i used the effect of shadows that is inner shadow and back shadow to make us as if we are really in the picture and to emphasise that we are closer.

the next step is putting the mmu logo into the wallpaper. so, i google the images and chose the one that i preferred which is this:

actually, the logo has some sort of border and have white background. i don't want the logo to be in a box i want it to be blended in with the background color. in order to do that, i have to crop it by using magic wand again and filled the background color with green to see the mistakes or any left-out in the picture. the outcome is this:


there are two text boxes used in the wall paper. one is on the centre top of the wall paper and the other one is at the bottom of the sign board. once you see the pictures, you would a clear vision of what i am talking about. the first text box is on the top of the wallpaper and that would be like this:

and the next one is at the bottom of the sign board which would be like this:

that's the whole process and i am done! phew~
thanks for reading! :D

assignment 1 (pictures gathering)

so basically, we all have to do an assignment about FOM open day. what we all have to do is..make an e-wallpaper using photoshop!

so the first step is...of course, taking a few pictures of FOM building is self. so here is a few pictures that i gather that i think quite okay for this assignment.


i'm not going to show yet which pictures that i have picked out. you have to wait until i show you the overall result. ehehehe.

Wednesday, June 30, 2010

hi.

from now on i will post entry that related to my learning progress in digital media. for example the steps that i took in editing a photo by using adobe photoshop and so on. pls leave your comment(s) regarding the result or even the steps. thank you so much for your support. >;)