1) pen tool for cropping; from shapes then inverse into selection and then cropped.
2) paint bucket; filled background with green color for cropping process.
3) magic wand for cropping.
4) eraser
5) type tool
Techniques:
1) image adjustments - curves
- brightness/contrast
- color balance
2) effects - bevel & emboss
- drop shadow
- inner shadow
this is the list of tools and techniques that i used for this e-wallpaper.
firstly, i chose the background color for the banner. i chose white-Grey color so it looks like the sky.
secondly, i choose this picture:

and i cropped it using tool pen and just make a straight line to make the shape or select the image that i desired. so the result would be like this:


this cafe picture would be my second layer.
thirdly, i chose the FOM signboard picture to be my third layer and that picture would be this one:

and again, i uses the pen tool to crop the signboard since it is straight in line.then i filled in the background with green color to see the clear image of the cropping if there is any mistakes made. and the result is this:


for both second layer and third layer pictures, i uses image adjustments which are brightness/contrast and color balance to make the picture to be clearer and sharper as well.
then, i chose a picture of me and my friends to put in the e-wallpaper and made it as the fourth layer. so the original picture is this:

then i cropped our picture using the wand tool since it is not a straight line. then again, i filled the background with green color to detect any mistakes and use eraser to erase mistakes. the outcome would be like this:
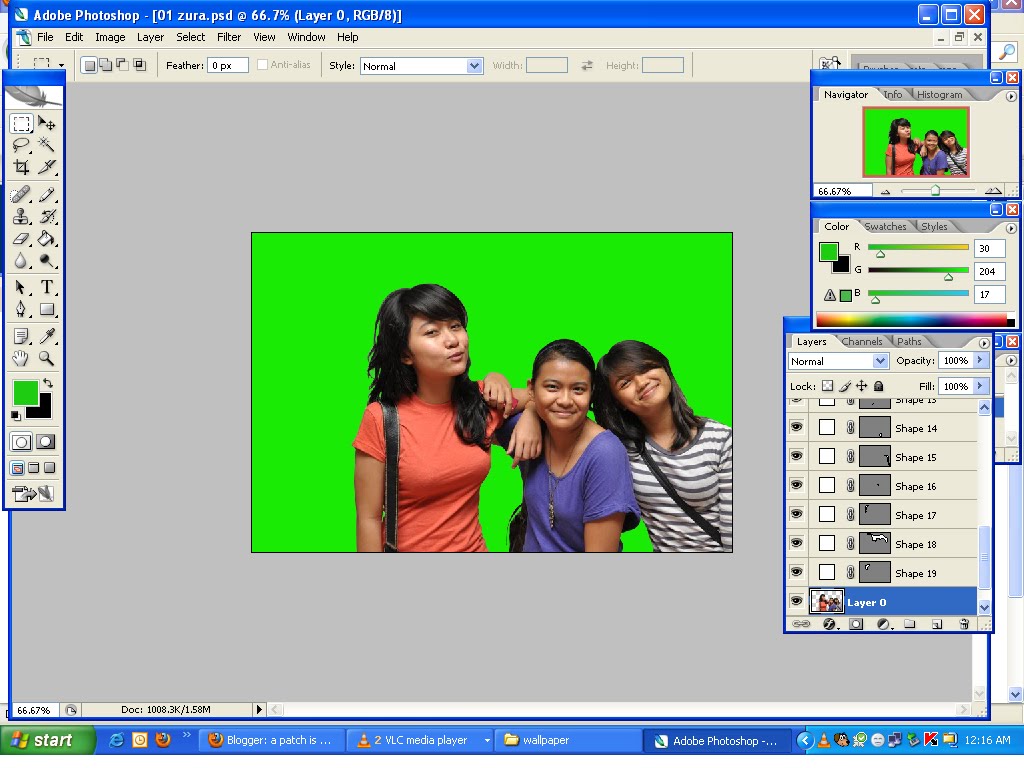

for this picture, i used the effect of shadows that is inner shadow and back shadow to make us as if we are really in the picture and to emphasise that we are closer.
the next step is putting the mmu logo into the wallpaper. so, i google the images and chose the one that i preferred which is this:
actually, the logo has some sort of border and have white background. i don't want the logo to be in a box i want it to be blended in with the background color. in order to do that, i have to crop it by using magic wand again and filled the background color with green to see the mistakes or any left-out in the picture. the outcome is this:

there are two text boxes used in the wall paper. one is on the centre top of the wall paper and the other one is at the bottom of the sign board. once you see the pictures, you would a clear vision of what i am talking about. the first text box is on the top of the wallpaper and that would be like this:

and the next one is at the bottom of the sign board which would be like this:

that's the whole process and i am done! phew~
thanks for reading! :D
No comments:
Post a Comment